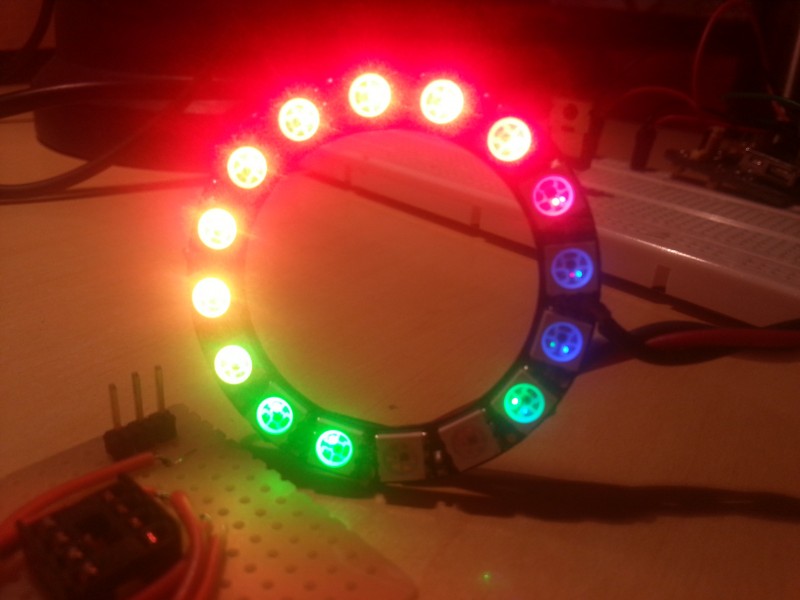
Running Neopixel Ring with Attiny85
I don’t usually advertise anything from private companies but I really like Neopixel Ring. It is a bit expensive if you compare it with isolated rgb leds however you have to take in account they are really tiny and that could be a problem.

For Adafruit, Neopixel ring is 16 x WS2812 5050 RGB LED with Integrated Drivers. They also include the possibility to add their own library to run them with Arduino (Neopixel Library). Another good thing is that they need only one pin to address ALL the leds you want, of course it is not that easy, so I would like to explain how to do it.
In my case I want to use the Attiny85 that I have already used in earlier post. In order to program it will use the same way I used here.
1) Configuration process
First of all install Arduino 1.0.5 ide from here. After that install Attiny Core from gitHub. Just copy the content of ATTinyCore-master.zip\ATTinyCore-master\tiny folder inside your Arduino hardware folder arduino-1.0.5\hardware\arduino. Take in account that if you overwrite the file boards all the earlier board configurations will disappear.
The one we will use is :
attiny85at8.name=ATtiny85 @ 8 MHz  (internal oscillator; BOD disabled)

# The following do NOT work...
# attiny85at8.upload.using=avrispv2
# attiny85at8.upload.using=Pololu USB AVR Programmer

# The following DO work (pick one)...
attiny85at8.upload.using=arduino:arduinoisp
# attiny85at8.upload.protocol=avrispv2
# attiny85at8.upload.using=pololu

attiny85at8.upload.maximum_size=8192

# Default clock (slowly rising power; long delay to clock; 8 MHz internal)
# Int. RC Osc. 8 MHz; Start-up time PWRDWN/RESET: 6 CK/14 CK + 64 ms; [CKSEL=0010 SUT=10]; default value
# Brown-out detection disabled; [BODLEVEL=111]
# Preserve EEPROM memory through the Chip Erase cycle; [EESAVE=0]

attiny85at8.bootloader.low_fuses=0xE2
attiny85at8.bootloader.high_fuses=0xD7
attiny85at8.bootloader.extended_fuses=0xFF
attiny85at8.bootloader.path=empty
attiny85at8.bootloader.file=empty85at8.hex

attiny85at8.build.mcu=attiny85
attiny85at8.build.f_cpu=8000000L
attiny85at8.build.core=tiny
attiny85at8.build.variant=tinyX5</pre>
Close your Arduino Ide and open it again. If everything was ok, you should see “ATtiny85 @ 8 MHz (internal oscillator; BOD disabled)” in your menu bar Tools -> Cards.
2) Neopixel Library Installation
If you want to run a program that uses Neopixel library you have to download from here and copy inside \libraries\NeoPixel just the files Adafruit_NeoPixel.cpp and Adafruit_NeoPixel.h. If you want you can use the example files as test programs.
3) Burning process
Connect your Attiny85 with your Leonardo through the adapter how I showed in the previous post. After that you have to burn the bootloader inside the menu bar Tools. Take in account you must have programmed Leonardo as ISP programmer, choosen this one as a programmer and Attiny85 @ 8 MHz as card to be burnt. This process must be done almost once.
After that choose the program and copy insider your Attiny85.
I have seen that each time I copy a program Arduino Ide shows “avrdude: please define PAGEL and BS2 signals in the configuration file for part ATtiny85” but it runs quite well.
