Google Test Tutorial

The aim of this tutorial is showing how to use GoogleTest to test your own projects in Eclipse.
The tests should be created in a different project so we are going to create a new project and then link the resources to this new project.
Creating new project
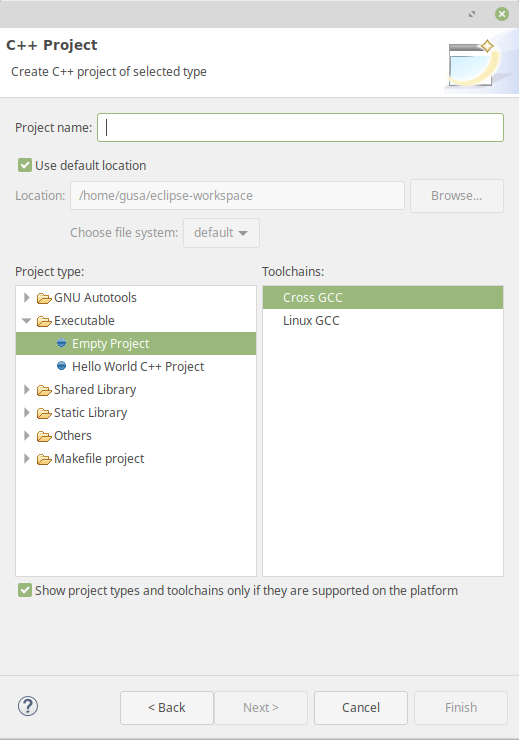
Create a new project in Eclipse. Just click on “File” -> “New C++ Project” -> “C++ Managed Build” ->
Install GTest
Go here and download full project. Once it is done go to the folder where you have installed it and type:
cd googletest/scripts
./fuse_gtest_files.py pathToMyProject/googleTestLib
It will create all the Google test files inside the folder. Just take in account that the pathToMyProject changes to your path.
After that let’s set up the bulding configuration. First of all right click over the googleTestLib folder in Eclipse and select “Resource Configuration” -> “Exclude From Build…” and then select in the box “Release”.
The next step is again right click over the googleTestLib folder in Eclipse and select “Properties” -> “C/C++ Build” -> “Settings” -> “Cross G++ Compiler / Includes”. In the “Include paths -I” you have to add the googleTestLib folder.
Adding Tests
Add a new folder where you will add all the tests. Just create a new file and type:
#include "gtest/gtest.h"

int main (int argc, char **argv) {
	:: testing:: InitGoogleTest(&argc, argv);
	return RUN_ALL_TESTS();
}
The ::testing::InitGoogleTest method does what the name suggests—it initializes the framework and must be called before RUN_ALL_TESTS. RUN_ALL_TESTS must be called only once in the code because multiple calls to it conflict with some of the advanced features of the framework and, therefore, are not supported. Note that RUN_ALL_TESTS automatically detects and runs all the tests defined using the TEST macro. By default, the results are printed to standard output. Listing 4 shows the output.
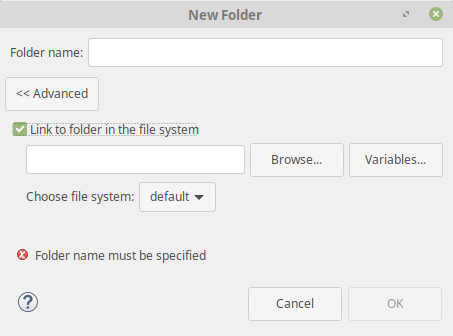
Right now you have to link your project to be tested to the test project. For this task right click on your test project and select “Properties” -> “C/C++ General” -> “Path and Symbosl” -> “Source Location” -> “Link Folder”. In this windows check “Link folder in the file system” and add your file folder.
After that your folder test wont be able to see the files you have included. In order to fix it right click on your test folder and click on “Properties” -> “C/C++ Build “ -> “Settings” -> “Cross G++ Compiler” -> “Includes” -> “Includes paths (-l)” add the folder path where the files to be tested are.
Additional settings
Google test needs pthread to work properly. So add it clicking on your test library “Properties” -> “C/C++ Build “ -> “Settings” -> “Cross G++ Linker” -> “Libraries” -> “Libraries (-l) “ and add “pthread”
Colorfull test
In order to add colorfull test support go to “Help” -> “Install new software” -> “C/C++ Unit Test support”.
After that create a new Runner using “Run As” -> “Run Configurations” -> “C/C++ Unit Test”. Choose “Google Tests Runner” for “Tests Runner” in the “C/C++ Testing” tab. Choose your testing project executable in the “Main” tab Run it, and the “C/C++ Unit” view shows up after (rebuild and) execution.
Additional tools Valgrind
Valgrind is a programming tool for memory debugging, memory leak detection, and profiling. It was originally designed to be a free memory debugging tool for Linux on x86, but has since evolved to become a generic framework for creating dynamic analysis tools such as checkers and profilers.
You can install just using:
sudo apt-get install valgrindIn order to use it type:
valgrind --leak-check=yes myprog