Esp Open Sdk on Esp8266
The main objective of this tutorial is showing how to program Esp8266 12-e using Open Sdk. It allows you to create your own C programs. It is a really cheap device with wifi integrated and low power consumption.
Introduction
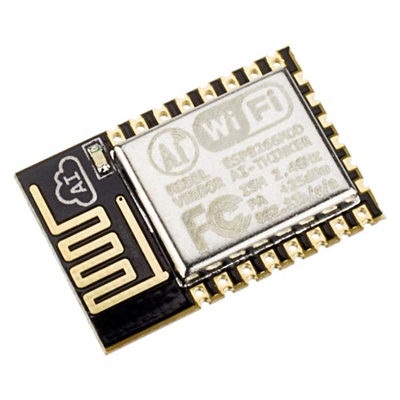
Based on what Espressif says: ESP8266EX is among the most integrated Wi-Fi chips in the industry. Measuring just 5mm x 5mm, ESP8266EX requires minimal external circuitry and integrates a 32-bit Tensilica MCU, standard digital peripheral interfaces, antenna switches, RF balun, power amplifier, low noise receive amplifier, filters and power management modules.
ESP8266EX integrates Tensilica L106 32-bit micro controller (MCU) which features extra low power consumption and 16-bit RSIC, reaching a maximum clock speed of 160 MHz. With the Real Time Operation System (RTOS) enabled and Wi-Fi stack functional, about 80% of the processing power is still available for user application programming and development.
How to install Open SDK in Linux Mint 18 Sarah
There are several ways to program this device. For me the most powerful and complex way is using C as a programming language. For that we have to acomplish next steps:
Install basic tools with:
sudo apt-get install make unrar-free autoconf automake libtool gcc g++ gperf \
flex bison texinfo gawk ncurses-dev libexpat-dev python-dev python python-serial \
sed git unzip bash help2man wget bzip2 libtool-bin
Installing Esp open Sdk
cd /opt
sudo git clone https://github.com/pfalcon/esp-open-sdk.git
sudo chown -R myuser esp-open-sdk
cd esp-open-sdk
make STANDALONE=y
echo 'PATH=$PATH:/opt/esp-open-sdk/xtensa-lx106-elf/bin' >> ~/.profile
echo 'PATH=$PATH:/opt/esp-open-sdk/esptool' >> ~/.profile
PATH=$PATH:/opt/esp-open-sdk/xtensa-lx106-elf/bin
PATH=$PATH:/opt/esp-open-sdk/esptool
sudo adduser myuser dialoutThis is how my .profile file looks like:
PATH=$PATH:/opt/esp-open-sdk/xtensa-lx106-elf/bin
PATH=$PATH:/opt/esp-open-sdk/esptool
ESP8266_SDK_ROOT=/opt/esp-open-sdk/sdk
export ESP8266_SDK_ROOT
Blinky Code example
This code create a simple blinking output in GPIO1. This code is obtained from Github.
This is how the Makefile should looks:
CC = xtensa-lx106-elf-gcc
CFLAGS = -I. -mlongcalls
LDLIBS = -nostdlib -Wl,--start-group -lmain -lnet80211 -lwpa -llwip -lpp -lphy -lc -Wl,--end-group -lgcc
LDFLAGS = -Teagle.app.v6.ld

blinky-0x00000.bin: blinky
	esptool.py elf2image $^

blinky: blinky.o

blinky.o: blinky.c

flash: blinky-0x10000.bin
	esptool.py write_flash 0 blinky-0x00000.bin 0x10000 blinky-0x10000.bin

clean:
	rm -f blinky blinky.o blinky-0x00000.bin blinky-0x10000.bin
Blinky.c
#include "ets_sys.h"
#include "osapi.h"
#include "gpio.h"
#include "os_type.h"

static const int pin = 1;
static volatile os_timer_t some_timer;

void some_timerfunc(void *arg)
{
  //Do blinky stuff
  if (GPIO_REG_READ(GPIO_OUT_ADDRESS) & (1 << pin))
  {
    // set gpio low
    gpio_output_set(0, (1 << pin), 0, 0);
  }
  else
  {
    // set gpio high
    gpio_output_set((1 << pin), 0, 0, 0);
  }
}

void ICACHE_FLASH_ATTR user_init()
{
  // init gpio sussytem
  gpio_init();

  // configure UART TXD to be GPIO1, set as output
  PIN_FUNC_SELECT(PERIPHS_IO_MUX_U0TXD_U, FUNC_GPIO1);
  gpio_output_set(0, 0, (1 << pin), 0);

  // setup timer (500ms, repeating)
  os_timer_setfn(&some_timer, (os_timer_func_t *)some_timerfunc, NULL);
  os_timer_arm(&some_timer, 500, 1);
}
In order to compile it just type:
make flash