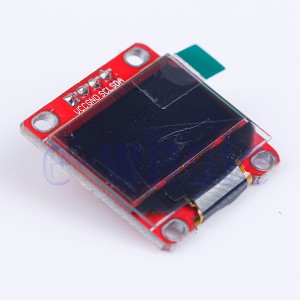
Arduino 0.96" I2C 128X64 OLED LCD
Some time ago I bought a screen that could be useful for small robot project or even better, you can use to simulate some eyes.
1) Wiring
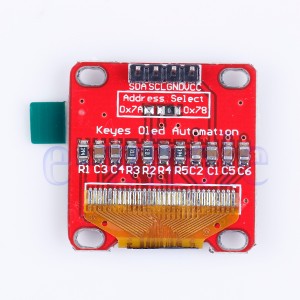
This screen is 128x64 pixels size screen. In this case it is really easy to wire the screen if you use an Arduino Leonardo. Taking in account that the screen works with 5V just plug in:
- Vcc to 5v
- Gnd to Gnd in the Arduino
- SLC to SCL (clock line) in the Arduino board
- SDA to SDA (data line) in the Arduino board
2) Software
In order to make it run just download the libraries from:
- SSD1306 This is the main library that contains how to control de screen.
- GFX Library. This is a library to control image transformations.
Select this project ssd1306_128x64_i2c. The only thing I had to change to make the screen work properly was changing the screen address inside the file Adafruit_SSD1306.h in the SSD1306 project. I had to write the line like this one:
display.begin(SSD1306_SWITCHCAPVCC, 0x3C);